Error creating thumbnail: Unable to save thumbnail to destination
|
This page is a part of our Journal collection. Click here to return to the journal. |
Rewards[edit | edit source]
| Goal | Reward |
|---|---|
| You have photographed your first lucky emblem! | AP Boost |
| You have photographed 3 lucky emblems! | Mega-Potion |
| You have photographed 5 lucky emblems! | Expert's Ring |
| You have photographed 10 lucky emblems! | Thundara Trinket |
| You have photographed 15 lucky emblems! | Moon Amulet |
| You have photographed 20 lucky emblems! | Magic Boost |
| You have photographed 25 lucky emblems! | Star Charm |
| You have photographed 30 lucky emblems! | Ribbon |
| You have photographed 35 lucky emblems! | Buster Band+ |
| You have photographed 40 lucky emblems! | Strength Boost |
| You have photographed 45 lucky emblems! | Master's Necklace |
| You have photographed 50 lucky emblems! | Wisdom Ring |
| You have photographed 55 lucky emblems! | Defense Boost |
| You have photographed 60 lucky emblems! | Orichalcum Ring |
| You have photographed 65 lucky emblems! | Cosmic Belt+ |
| You have photographed 70 lucky emblems! | Royal Ribbon |
| You have photographed 80 lucky emblems! | Orichalcum+ |
| You have photographed all the lucky emblems! | Mickey Clasp Proof of Beginnings[1] |
Secret Ending[edit | edit source]
To unlock the Secret Ending, a particular number of Lucky Emblems must be found, with the required number changing depending on the player's difficulty level. If playing Beginner Mode, the player must obtain 90 emblems. If playing Standard Mode, the player must obtain 60 emblems. If playing Proud Mode, the player must obtain 30 emblems. If playing Critical Mode, no emblems are required to be obtained. Passing this requirement is the only specification needed to unlock the Secret Ending.
Olympus[edit | edit source]
| (1) | (2) | (3) | (4) | (5) |
| (6) | (7) | (8) | (9) | (10) |
| (11) | (12) |
| # | Location | Notes |
|---|---|---|
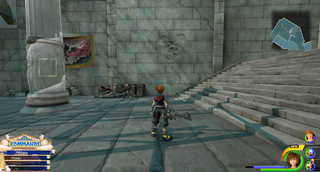
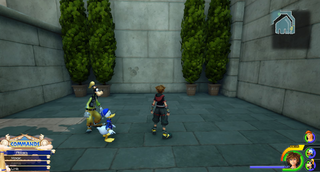
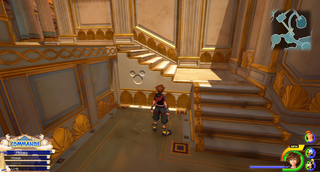
| (1) | Thebes / Overlook | Head to the Trinity Sled area and travel across the red roofs. At the end of the roofs, do not jump across to the statue and instead drop to the ground. Continue forward to the nearby stairs to find the emblem chipped into the wall. |
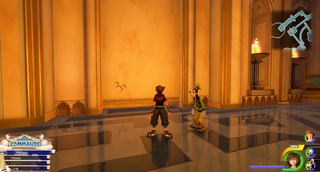
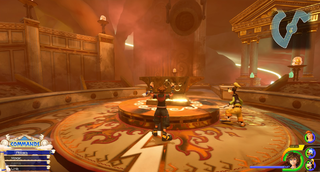
| (2) | Thebes / The Big Olive | On a wall in the central landing of the Trinity Sled area. |
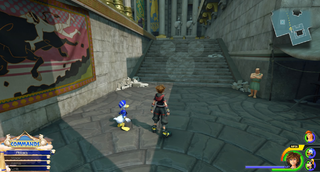
| (3) | Thebes / Agora | Stand at the bottom of the right side set of stairs just behind the Hercules statue to see the emblem. |
| (4) | Thebes / Overlook | Not accessible on first visit. From the Save Point, take the upwards stairs to find the emblem on a wall. |
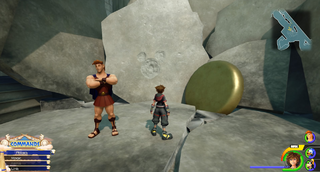
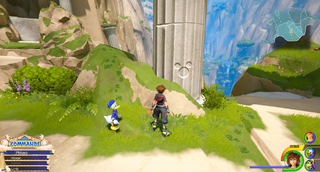
| (5) | Mount Olympus / Cliff Ascent | Starting from the bottom, climb the mountain until you reach the area with a choice of two paths. Take the path on the left and follow it to an archway with a triangular top. The emblem is on the back of one of the arch's columns. |
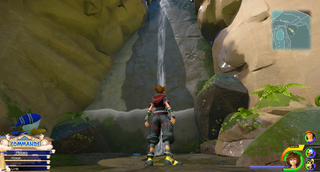
| (6) | Mount Olympus / Cliff Ascent | Starting from the bottom, climb the mountain until you reach the area with a choice of two paths. Take the path on the right and follow it to the waterfall. Once the waterfall has been drained, head to its pool to find the emblem on the wall behind it. |
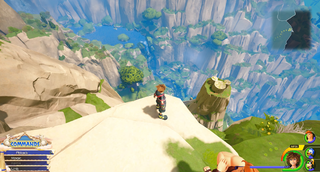
| (7) | Mount Olympus / Cliff Ascent | Starting from the bottom, climb the mountain until you reach the area with a choice of two paths. Take the path on the right and follow it to the waterfall. Once the waterfall has been drained, climb up to the cave at the top of the waterfall and head South. Once just outside, turn left to see a grass-less rock that juts out just a small amount from the edge of the cliff. Stand on the edge of this outcropping and look forward to see the emblem in the distance. |
| (8) | Mount Olympus / Mountainside | From the Cliff Ascent, continue until you reach the area with lightning. The emblem is hanging from a tree on the edge of the mountain. |
| (9) | Realm of the Gods / Corridors | From the Save Point, head to the area with water slides. Once up the first set of stairs, head for the path on the right to find the emblem on the side of a small staircase. |
| (10) | Realm of the Gods / Corridors | From the Save Point, head to the area with water slides. Take the first slide presented to find the emblem on a wall, hidden behind a vase in the room at the top. |
| (11) | Realm of the Gods / Secluded Forge | On the side of the anvil. |
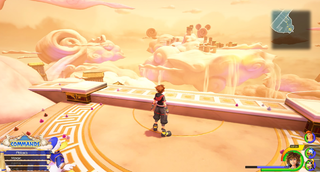
| (12) | Realm of the Gods / Cloud Ridge | Upon landing from the Rail Gauntlet, head to the viewing platform in the East and look to the distance to see the emblem formed in the clouds. |
Twilight Town[edit | edit source]
| (1) | (2) | (3) | (4) | (5) |
| (6) | (7) | (8) | (9) |
| # | Location | Notes |
|---|---|---|
| (1) | The Neighborhood / Tram Common | On the wall to the left of the World Map exit. |
| (2) | The Neighborhood / Tram Common | On the roof of the tram. |
| (3) | The Neighborhood / Tram Common | On one of the pipes at the very top of the Moogle Shop tower. |
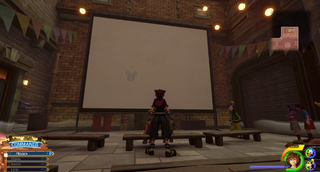
| (4) | The Neighborhood / Tram Common | On the outdoor theater screen. Appears when the film comes to its end. |
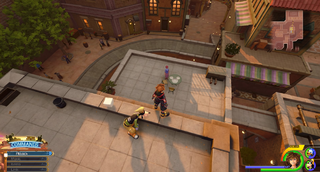
| (5) | The Neighborhood / Tram Common | Climb to the highest roof of the building on the East side of the map. From here, look down to the lower level of roof in the South to see the emblem made out of plates on a table. |
| (6) | The Neighborhood / The Woods | On the East door of the entrance to the Underground Conduit. |
| (7) | The Neighborhood / The Woods | After exiting from the Underground Conduit, scale the wall on the immediate right to reach a ledge. The emblem is on the wall here. |
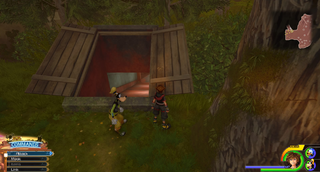
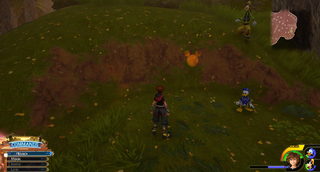
| (8) | The Neighborhood / The Woods | Hug the East side of the map until you reach a small hill with a fallen log on top. The emblem is on the South side of the hill. |
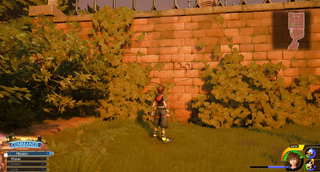
| (9) | The Neighborhood / Old Mansion | On the left side of the brick fence that flanks the gates of the Mansion. |
Toy Box[edit | edit source]
| (1) | (2) | (3) | (4) | (5) |
| (6) | (7) | (8) | (9) | (10) |
| (11) |
| # | Location | Notes |
|---|---|---|
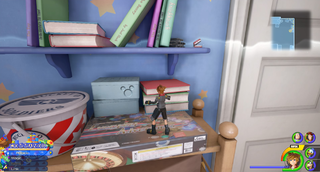
| (1) | Andy's House | Climb the shelves to the left of the door, in the Northeast corner of the room. The emblem is on a tin box at the top. |
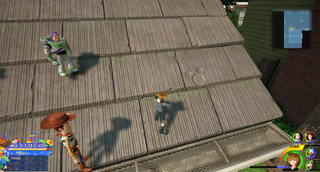
| (2) | Andy's House | From the bedroom, exit onto the garage roof. Head down the southern side to find the emblem near the roof's corner. |
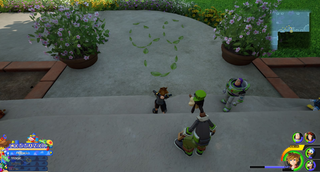
| (3) | Andy's House | Outside, stand on the steps of the front door and turn around to see the emblem laid out in leaves on the pathway. |
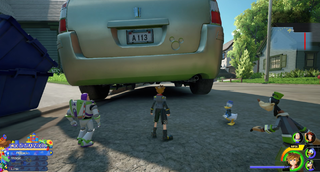
| (4) | Andy's House | Across the street from Andy's House is a parked car. The emblem is just below the car's rear license plate. |
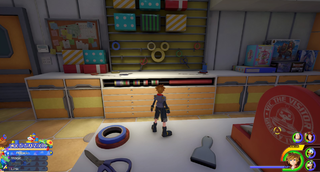
| (5) | Galaxy Toys / Main Floor: 1F | On the wall behind the counter, comprised of three rolls of hanging tape. The photo must be taken from the checkout counter directly opposite. |
| (6) | Galaxy Toys / Main Floor: 1F | Use a Gigas to destroy the circular display of toys behind the prize machine. The emblem is on the base of the display and will be visible once the toys on top have been cleared. |
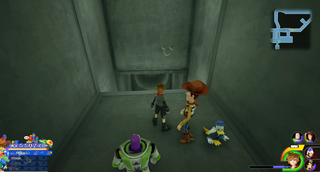
| (7) | Galaxy Toys / Lower Vents | From the Action Figure area, travel through to the fan. Use the fan to fly upwards, then allow a small drop to reach the vent halfway up the wall. Turn around to see the emblem on the wall. |
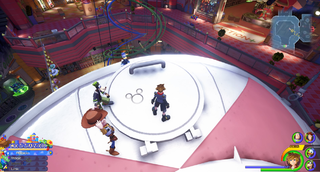
| (8) | Galaxy Toys / Main Floor: 3F | From the window into the Lovely Party (Babies & Toddlers: Dolls), head directly West to the railing. Climb onto the couch and jump over the railing to reach a UFO hanging from the ceiling. The emblem is carved into a hatch on the UFO. |
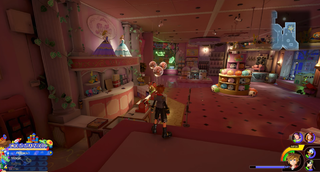
| (9) | Galaxy Toys / Babies & Toddlers: Dolls | Climb to the top of the doll display in the North of the area and look towards the cash registers. The emblem is a trio of disco balls hanging above the counter. Move Sora until they align. |
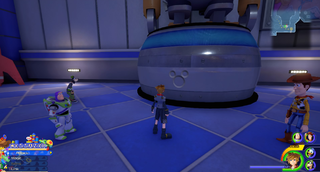
| (10) | Galaxy Toys / Main Floor: 3F | In the Southeast, on the base of a robot displayed between Play Place (Babies & Toddlers: Outdoors) and Lovely Party (Babies & Toddlers: Dolls). |
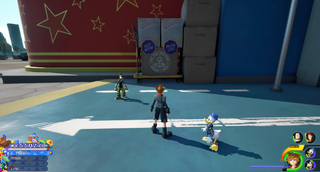
| (11) | Galaxy Toys / Main Floor: 1F | Exit the store and then look to the pile of boxes on the right. The emblem is comprised of two stickers and a logo on the side of one of the boxes. |
Kingdom of Corona[edit | edit source]
| (1) | (2) | (3) | (4) | (5) |
| (6) | (7) | (8) | (9) |
| # | Location | Notes |
|---|---|---|
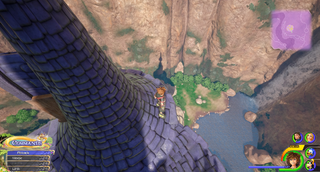
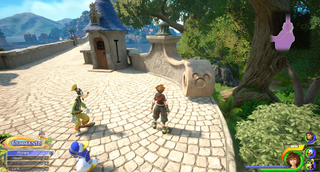
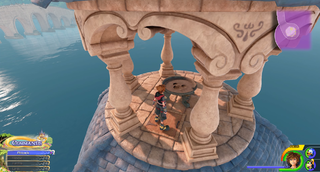
| (1) | The Forest / Tower | Climb to the top of the tower and look towards the waterfall. The emblem is a collection of rocks on the shore. |
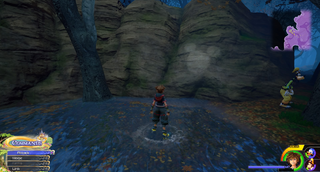
| (2) | The Forest / Marsh | Look for a small, lightly lighted alcove in the Northwest area of the map. The emblem is on the rockface. |
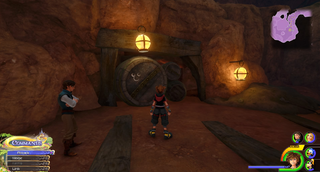
| (3) | The Forest / Wetlands | When entering the mine from the Eastern entrance, continue until the cave opens up and then immediately look left to see the emblem on the side of a barrel. |
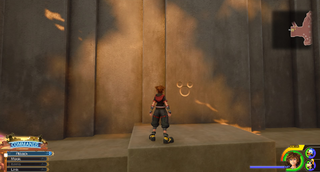
| (4) | The Forest / Shore | On the side of the curved stone wall on the right of the entrance to the Kingdom. |
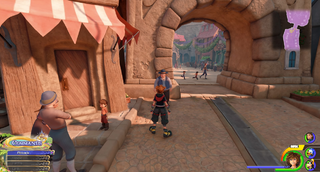
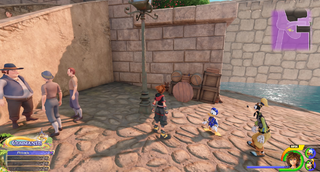
| (5) | The Kingdom / Thoroughfare | On the left side of the archway to the dancing area, behind a man in blue. |
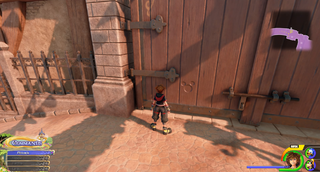
| (6) | The Kingdom / Wharf | Take the long winding path in the Northeast that leads to the Thoroughfare. The emblem is on the large brown door at the top of the path. |
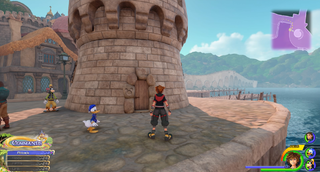
| (7) | The Kingdom / Wharf | On the small tower South of the long ramp walkway to the Thoroughfare. Carved into one of the stones around the tower's door. |
| (8) | The Kingdom / Wharf | After climbing down the stairs from the Thoroughfare, walk around the left corner to see the emblem in a pile of supplies behind a lamppost. |
| (9) | The Kingdom / Wharf | Climb as high as possible up the lighthouse. The emblem is inside the fire pit. |
Monstropolis[edit | edit source]
| (1) | (2) | (3) | (4) | (5) |
| (6) | (7) | (8) | (9) | (10) |
| (11) |
| # | Location | Notes |
|---|---|---|
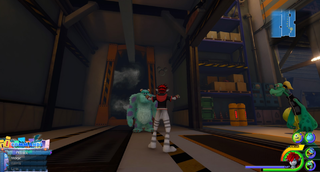
| (1) | Monsters, Inc. / Laugh Floor | On the fifth desk from the back of the room, drawn on a notepad leaning against a cork-board. |
| (2) | Monsters, Inc. / Laugh Floor | From the entrance to the Laugh Floor, head East to find a clown boxing bag. Knock the clown out of the way to reveal the emblem on the floor. |
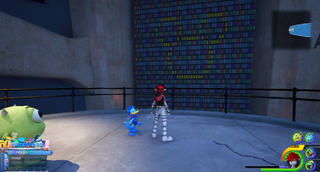
| (3) | The Door Vault / Upper Level | From the Save Point, take the Rail Gauntlet to the next level up. On this level, look for the open archway and head to the back of the hall inside to find the emblem. |
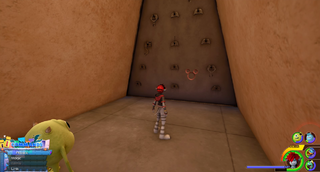
| (4) | The Door Vault / Upper Level | Head to the Lower Level wall of doors and from there enter the brown door in the South. Head to the Western end of the new area and look ahead to see the emblem in the wall of doors in the distance. |
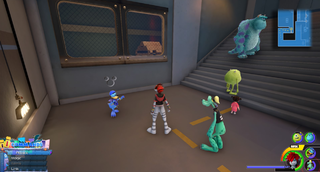
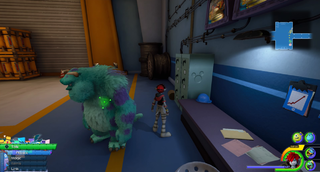
| (5) | The Factory / Ground Floor | From the control station for the first set of conveyor belt machines, head into the halls and take the stairs down. The emblem is on the wall, underneath a window that looks onto the conveyor. |
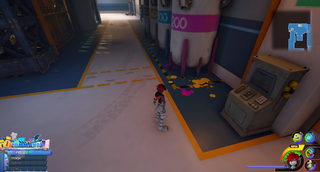
| (6) | The Factory / Ground Floor | Next to the door to the paint room, on the floor in paint splotches. |
| (7) | The Factory / Second Floor | Not available on first visit. Take the elevator from the Ground Floor Save Point and continue down the hallway, through the open area, and to the end of the hallway after. From here, head through the door on the left to find a dormant door conveyor. The emblem is on the wall next to the hole the doors travel through. |
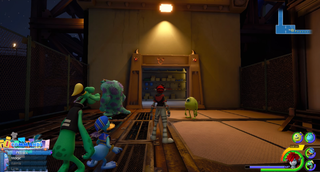
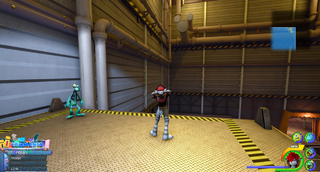
| (8) | The Power Plant / Accessway | On the side of the lockers next to the desk in the Save Point room. |
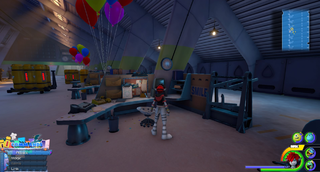
| (9) | The Power Plant / Accessway | From the Tank Yard Save Point, take the crane and airstep path back up to the Accessway. Continue along the Rail Gauntlet and then through the open area after. Follow the next path to the storage room, but do not go inside. The emblem is on the arch over the entrance to this room. |
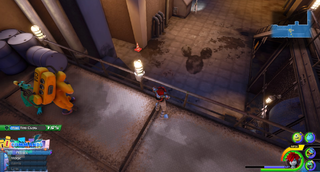
| (10) | The Power Plant / Tank Yard | From the Save Point, head to the Northeast corner of the room. Climb to the top of the blue and white crates and then jump onto the platform nearby. Look South to see the emblem made out of pipes on the wall. |
| (11) | The Power Plant / Vault Passage | Not available on first visit. From the Tank Yard Save Point, continue until the drop into the outside area that used to be on fire. Take the stairs and look through the railing next to the CDA agent to see the emblem in an oil spill on the ground. |
Arendelle[edit | edit source]
| (1) | (2) | (3) | (4) | (5) |
| (6) | (7) | (8) | (9) | (10) |
| (11) |
| # | Location | Notes |
|---|---|---|
| (1) | The North Mountain / Treescape | From the Save Point, take the mountain path up to the Gorge. Run along the path until a gap in the wall opens on the right. Jump off the edge of the mountain here and land on the ledge underneath. Run to the other end of the path to see the emblem on the side of a tree. |
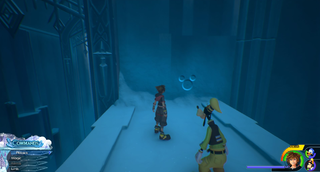
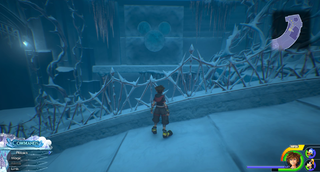
| (2) | The Labyrinth of Ice / Middle Tier | Head to the room with the large arch crossing its center. Climb onto the arch and walk to its end to find the emblem on the wall. |
| (3) | The Labyrinth of Ice / Lower Tier | From the first rotating room, take the sliding passage to the bottom and then jump off the edge to find the emblem on the side of a chunk of ice. |
| (4) | The Labyrinth of Ice / Middle Tier | From the Lower Tier Save Point, head to the airstepping room and climb right to the top to reach the Middle Tier. The emblem is on the wall of the room here and can be viewed by standing halfway across the bridge and looking East. |
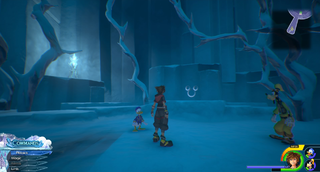
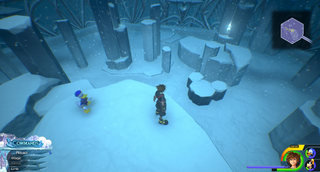
| (5) | The Labyrinth of Ice / Upper Tier | From the Middle Tier elevator, take the Northwest rail. Climb on top of the pile of rocks in the center of the room and look down to see the emblem. |
| (6) | The North Mountain / Mountain Ridge | From the Gorge Save Point, keep wall-running up until you reach the Mountain Ridge. The emblem is straight ahead after you arrive. |
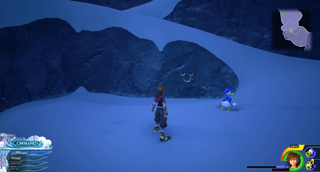
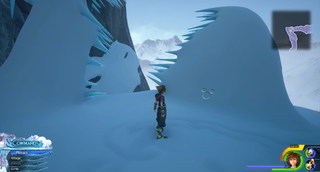
| (7) | The North Mountain / Frozen Wall | From the Mountain Ridge entrance, head down the mountain path to the open area with the Frost Serpents. Scale the Southwestern wall to its top and run horizontally to the right. Drop off the edge of the wall to land on the other side of a rock wall. The emblem is formed in snow on the wall. |
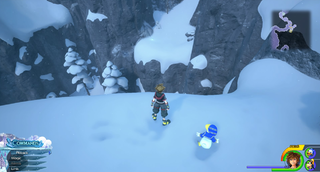
| (8) | The North Mountain / Frozen Wall | Climb to the top of the mountain until you reach the ice burst columns just before Elsa's tower. The emblem is on the lowest column, the first one you see when climbing from below. |
| (9) | The North Mountain / Snowfield | From the Save Point, head South, fall off the cliff, and then scale the large wall. At the top of the wall, look Northeast to see the emblem on the snow topped rock column just ahead. |
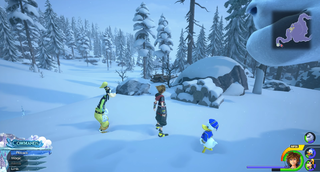
| (10) | The North Mountain / Snowfield | From the Save Point, head to the open area and then to the cart by the rocks along the Western edge of the area. The emblem is on the end of the stack of logs. |
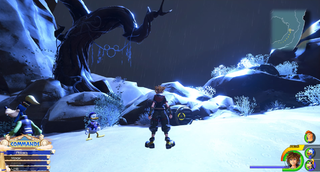
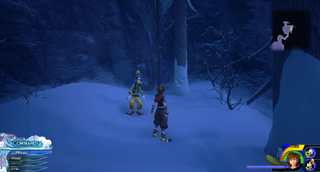
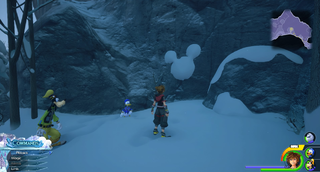
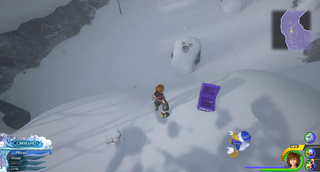
| (11) | The North Mountain / Foothills | From the Save Point, head through the Southern entrance to the snowstorm area. Continue to the bottom of the hill and then climb onto the nearby slope. Follow this slope to a jump across to another slope and then follow this slope to its end. Look down the North side of the slope to see the emblem stamped on top of a snow topped rock. Move next to the treasure chest here to have Sora stand upright and allow you access to the camera. |
The Hundred Acre Wood[edit | edit source]
| (1) | (2) | (3) |
| # | Location | Notes |
|---|---|---|
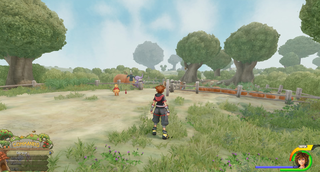
| (1) | Rabbit's House | Face the flower patch and look into the distance, past the fence, to see the emblem in the trees. |
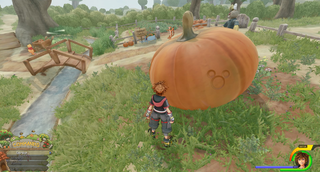
| (2) | Rabbit's House | On the side of the giant pumpkin. |
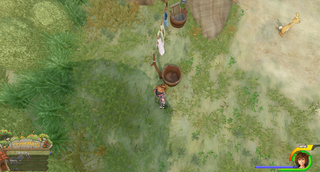
| (3) | Rabbit's House | Inside the bucket at the end of the washing line. |
San Fransokyo[edit | edit source]
| (1) | (2) | (3) | (4) | (5) |
| (6) | (7) | (8) | (9) | (10) |
| (11) |
| # | Location | Notes |
|---|---|---|
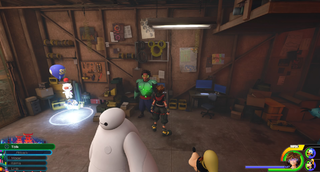
| (1) | Hiro's Garage | In yellow cords hanging on the wall behind the Moogle Shop. |
| (2) | The City / South District | From the Save Point, head east to the beginning of the freeway. Head for the archway over the freeway with the sushi chef on top and use flowmotion to reach the top of the chef's head. Look East and down to see the emblem formed out of red bushes on the ground. |
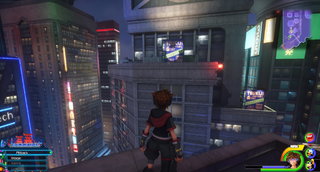
| (3) | The City / South District | Only available at night. Climb to the top of the building behind the Save Point and head to its Northern edge. Look to the building across from here to see a small blue sign with headlights illuminating the emblem on its front. |
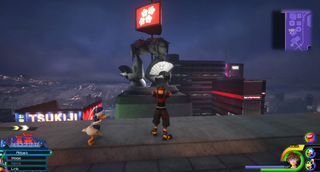
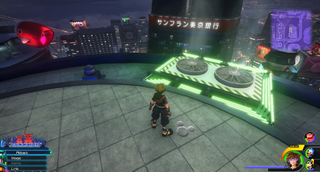
| (4) | The City / South District | Climb to the top of the building behind the Save Point and then travel across to the "M" building to the North. Wall-run up to the landing with the broadcasting aerial and then head to the Western edge. Look straight ahead to see a statue trio of women holding fans. The emblem is carved on the nearest fan. |
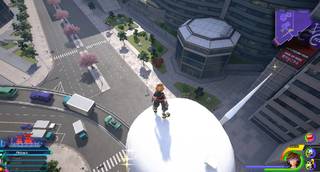
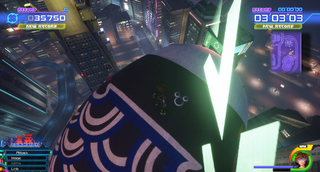
| (5) | The City / Central District | From the South District Save Point, head North, following the line of the North-South running freeway. When you reach the intersection with the East-West running freeway, head to the top of the buildings tucked in the corner of this intersection and head for the Southeast corner. The emblem is carved into the side of the dome here. |
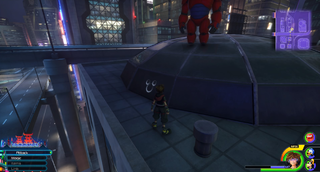
| (6) | The City / Central District | From the South District Save Point, head North, following the line of the North-South running freeway. When you reach the intersection with the East-West running freeway, head Northeast to the building wrapped in blue strips of light that the larger freeway turns a corner around. Climb to the very top of the building to find the emblem carved into the circular landing on the roof. |
| (7) | The City / Central District | Climb to the top of the building South of the Save Point. Airstep onto the blue flying fish North of here and climb to its top to see the emblem carved into the blue stripe. |
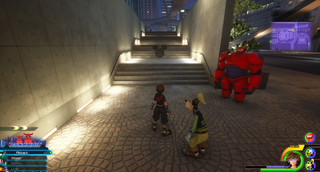
| (8) | The City / North District | Only available at night. From the Save Point, head Northwest, through the small grassy area and then West to a staircase. The emblem is stretched across the second level of stairs and should be photographed from ground level. |
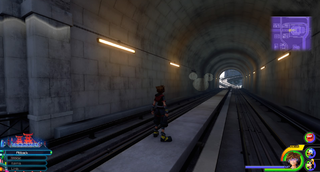
| (9) | The City / North District | Head to the Northwestern corner of the map and climb onto the train tracks. Follow the tracks East, but stop outside the tunnel. Stand on the middle of the track at the end of the tunnel to photograph the emblem on the wall of the tunnel. |
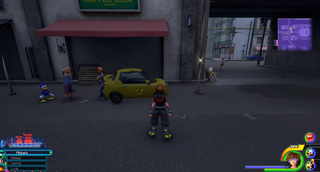
| (10) | The City / North District | Head to the Northwest corner of the map and walk down the alley on the Northern side of the train tracks to find a yellow car with the emblem on its side. |
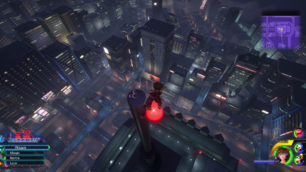
| (11) | The City / Central District | From the South District Save Point, head North, following the line of the North-South running freeway. When you reach the intersection with the East-West running freeway, head East a small distance and then North, to a building wrapped in blue strips of light. Climb to the top of the building and then look North to the building with a pole with a plane light on its top. Airstep across to the plane light to find the emblem on the very top of the pole. |
The Caribbean[edit | edit source]
| (1) | (2) | (3) | (4) | (5) |
| (6) | (7) | (8) | (9) | (10) |
| (11) | (12) | (13) |
| # | Location | Notes |
|---|---|---|
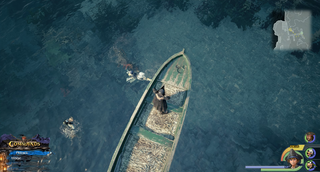
| (1) | Port Royal / Docks | From the Save Point, head Northwest to find a green boat floating alone in the water. The emblem is etched into the top of this boat. |
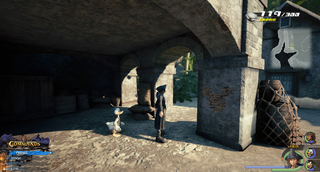
| (2) | Port Royal / Docks | From the pier entrance, head all the way South alongside the water to reach a storage building. Destroy the yellow crates in front of one of the building's pillars to reveal the emblem. |
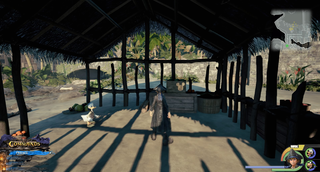
| (3) | Port Royal / Seaport | In the hut near the overturned boats in the West. The emblem is shone onto a stack of crates in the hut's Southern corner. |
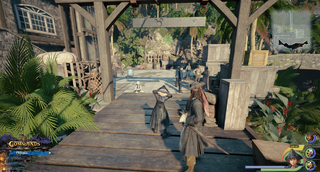
| (4) | Port Royal / Seaport | Next to the large house, a sign hangs over the beginning of the pier. The emblem is carved into the back of this sign. |
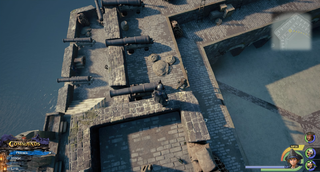
| (5) | Port Royal / Fort | Head outside to the courtyard and climb onto the roof where the UK flag sits. Look down the Eastern side of this landing to see the emblem made up of coiled ropes below. |
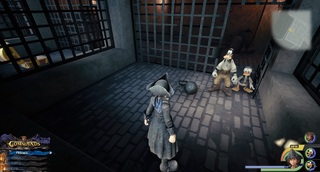
| (6) | Port Royal / Fort | Inside one of the prisoner cells, on the back of a ball and chain. |
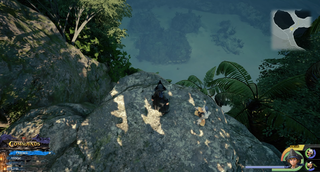
| (7) | The High Seas / Isla Verdemontaña | From the Save Point, head East and into the island. Follow the path until the fork in the road and then head South. Follow the path to the end and stand on the rock that overlooks the water. The emblem is shaped in a reef in the water below. |
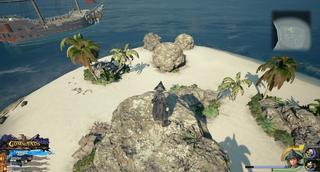
| (8) | The High Seas / Northern Waters | On the Isle of Luck. Climb to the top of the tall rock pillar in the North of the island and look down to see the emblem formed in rocks below. |
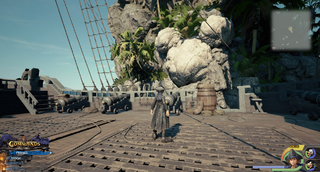
| (9) | The High Seas / Northern Waters | Head to Horseshoe Island and park the boat underneath the giant archway jutting from its side. Step away from the wheel, then head to the South side of the boat. Look up to the side of the archway to see the emblem formed in the rocks. |
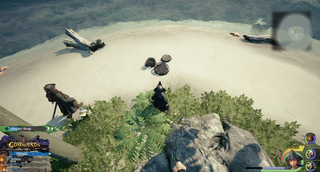
| (10) | The High Seas / Port Royal Waters | On a small island just West of the Isla de los Mástiles. The emblem is in the Northwest part of the island, formed by three broken barrels. |
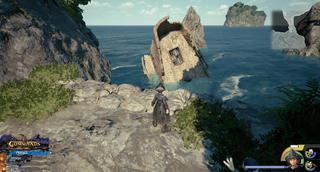
| (11) | The High Seas / Southern Waters | Head to Ship's End Island and climb up to the rock island. Follow the path to its end and look down to see the emblem carved into a sunken boat that juts from the water. |
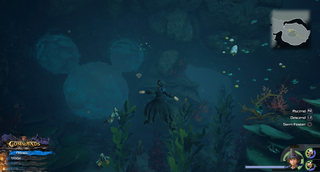
| (12) | The High Seas / Sandbar Isle | Head South to the far sandbar and climb the rocks behind the palm trees. Jump across the stone pillars to reach an island and head East to find a large pool of water. Dive into the water and head Northeast to find the emblem carved out of the wall. |
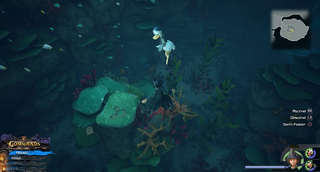
| (13) | The High Seas / Sandbar Isle | Head South to the far sandbar and climb the rocks behind the palm trees. Jump across the stone pillars to reach an island and head East to find a large pool of water. Swim to the center of the pool and then dive into the water. Look directly below to see the emblem on a coral pillar. |
